A Size Label includes sizing details for a Style. You can also define the different sizes to be printed on the Size Label.
![]() Define
a Size Label
Define
a Size Label
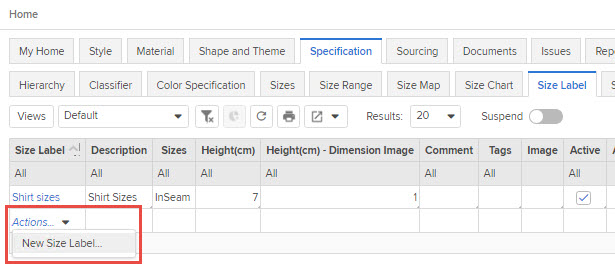
Navigate to Home > Specification > Size Label tab.
In the Size Label column, mouse-over Actions and select New Size Label...
A new row is created in the Size Label table.
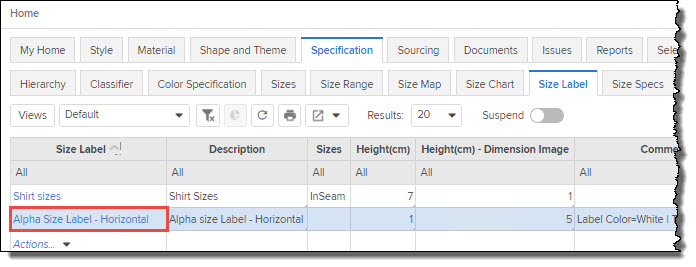
NOTE: You can edit details for the cells that are editable - indicated by a grey triangle displayed in the right-hand bottom corner of the cell.
The Active check-box is selected by default indicating that the Size Label is active and available throughout the Centric 8 application. To render a Size Label inactive, de-select the check-box corresponding to the required size label.
Click on a Size Label to view its properties and to create one or more sizes on the Size Label (Properties) tab.
The pre-requisite for creating one or more sizes is to first define one or more Size Labels.
![]() Create
one or more sizes for a size label
Create
one or more sizes for a size label
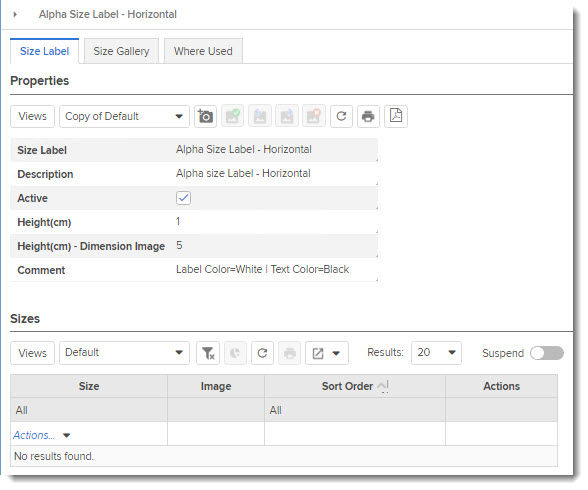
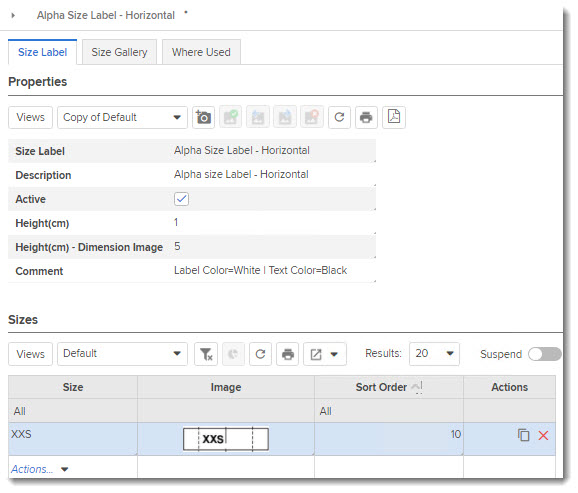
Click on a size label to view the Size Label (Properties) tab.
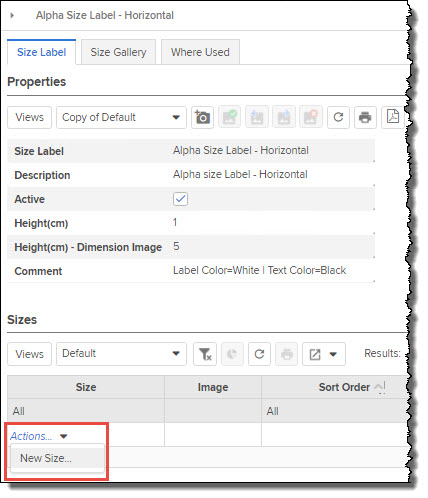
In the Sizes section table, in the Size column, mouse-over Actions and select New Size...
A new row is created in the table. Enter details for Size.
In the Image column, mouse-over anywhere within the cell and select Browse Images. Select and upload an image.
In the Sort Order column, click anywhere within the cell and enter a sort order number.