![]() Create
a new Material Security Group
Create
a new Material Security Group
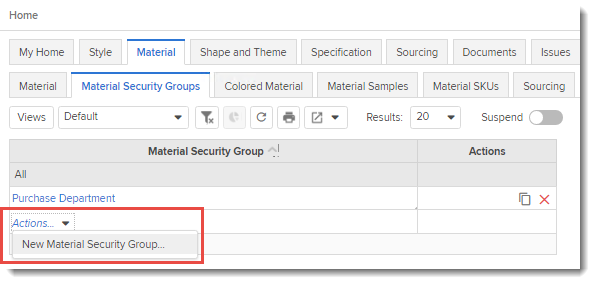
Navigate to Home > Material > Material Security Groups
To create a new Material Security Group, mouse-over Actions and select New Material Security Group.
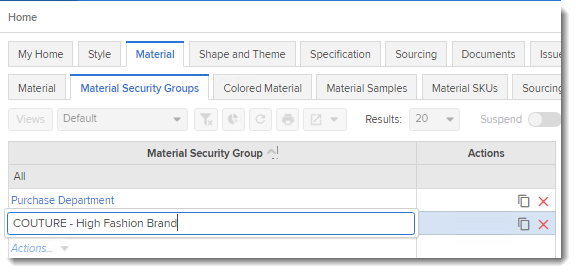
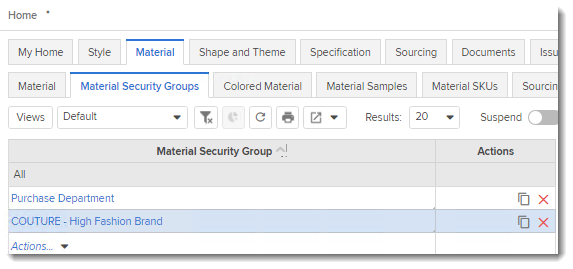
A new row is created in the table. Enter the new Material Security Group name.
Users can include one or more Materials to the new Material Security Group.
NOTE: One or more Material Security Groups defined on the Material Security Groups tab can be viewed for selection on the Material tab at the time of defining a new Material.
![]() Add one
or more Materials to the Material Security Group
Add one
or more Materials to the Material Security Group
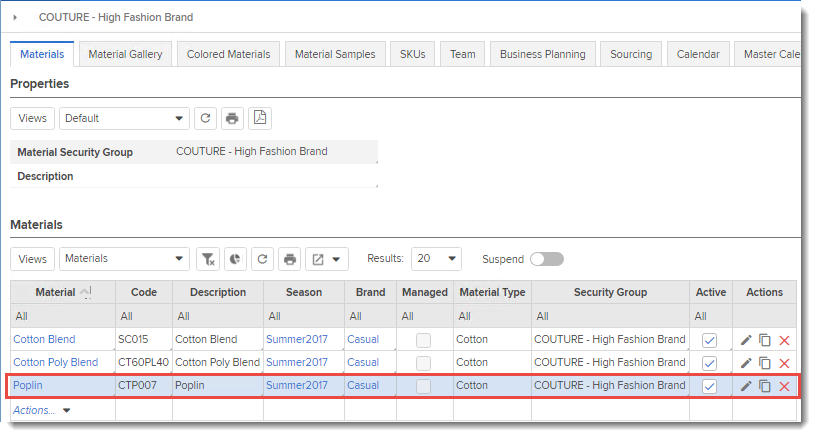
To add one or more materials to the Material Security Group, click on the created Material Security Group name.
Navigate to Materials tab
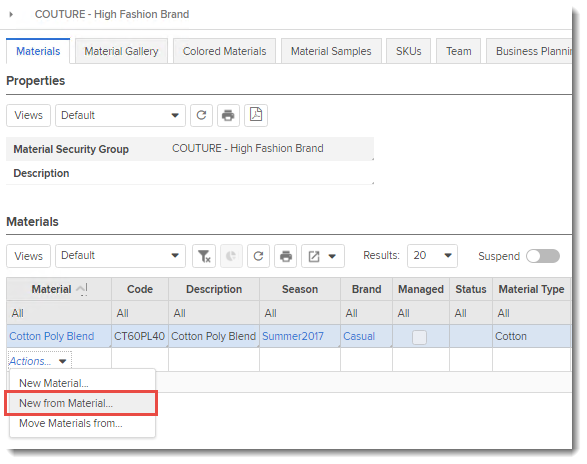
To add new material, mouse-over Actions and select one of the following options.
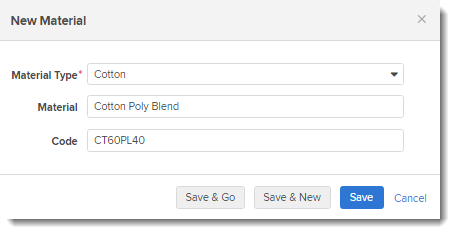
In the Materials table, mouse-over Actions and select New Material
In the New Material dialog box, enter the Material type details and click on Save.
The New Material is created and displayed in the Materials table.
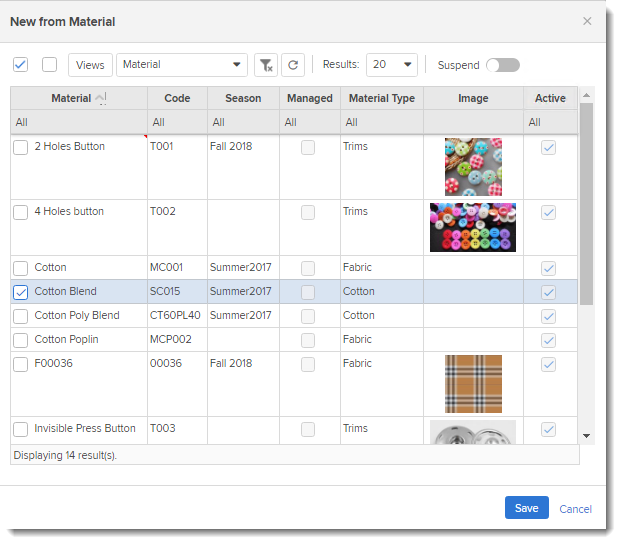
In the Materials table, mouse-over Actions and select New from Material
In the New from Material dialog box, select one or more Materials to be assigned to the Material Security Group and click on Save.
The details of the selected Materials are displayed in the New from Material dialog box. Edit/Update details as required and click on Save..
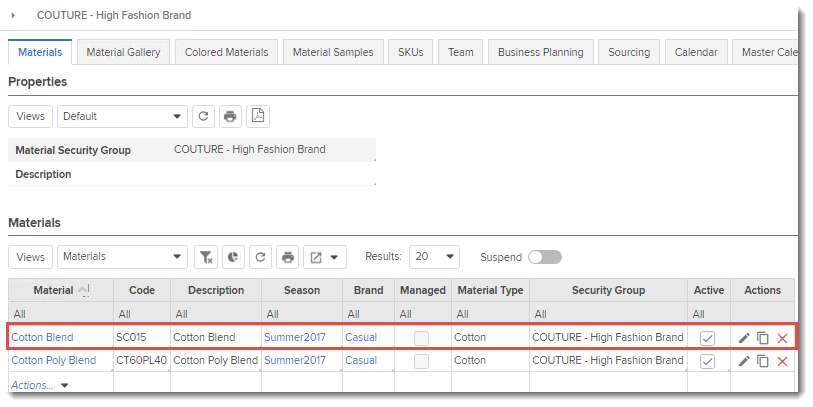
The New Materials will be displayed in the Materials table.
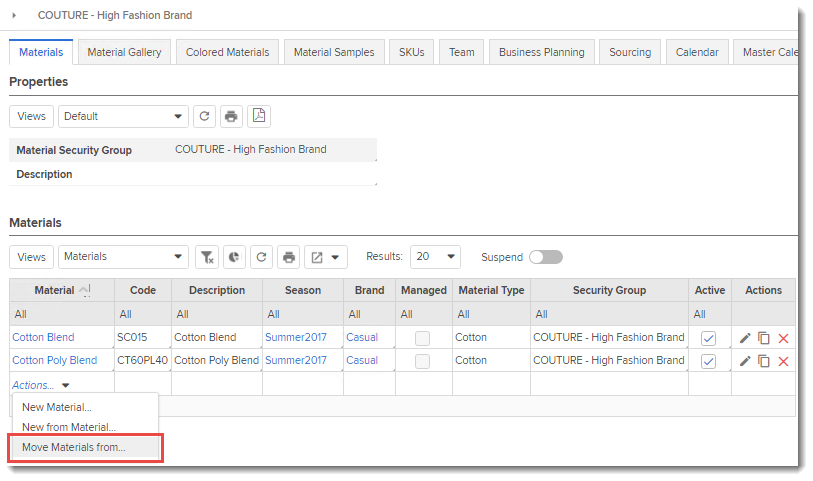
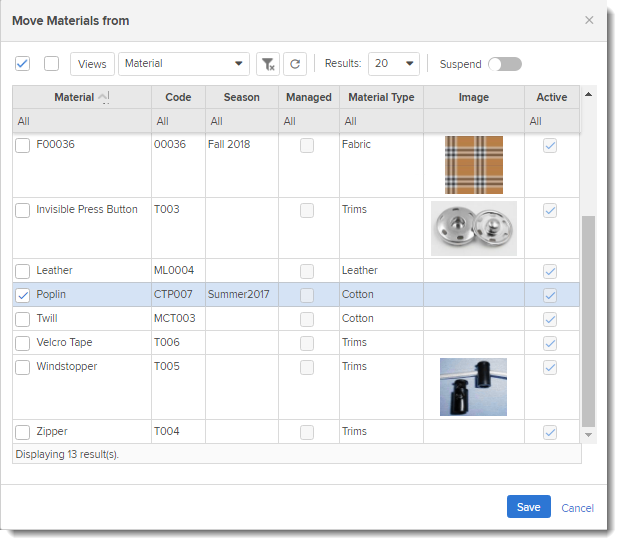
In the Materials table, mouse-over Actions and select Move Materials from
In the Move Materials from dialog box, in the Material Type, click on the All drop-down arrow. Select one or more Materials to be moved to the current Material Security Group and click anywhere outside the dialog box.
The Materials associated with the selected Material Type will be displayed. Select the check-box corresponding to the Materials to select it and then click on Save. The selected Materials will be displayed in the Materials table.
NOTE: The Active check box is selected by default. To render the Material inactive, de-select the check box. It will no longer be available for selection.
Pre-Requisite: Material