The Home Page provides Users the facility to configure the Centric 8 dashboard. Users can add, edit or remove one or more widget panes using the Configure Dashboard feature.
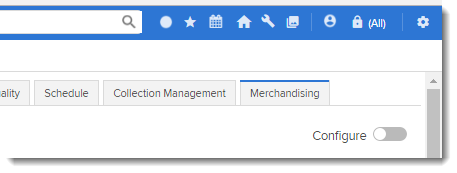
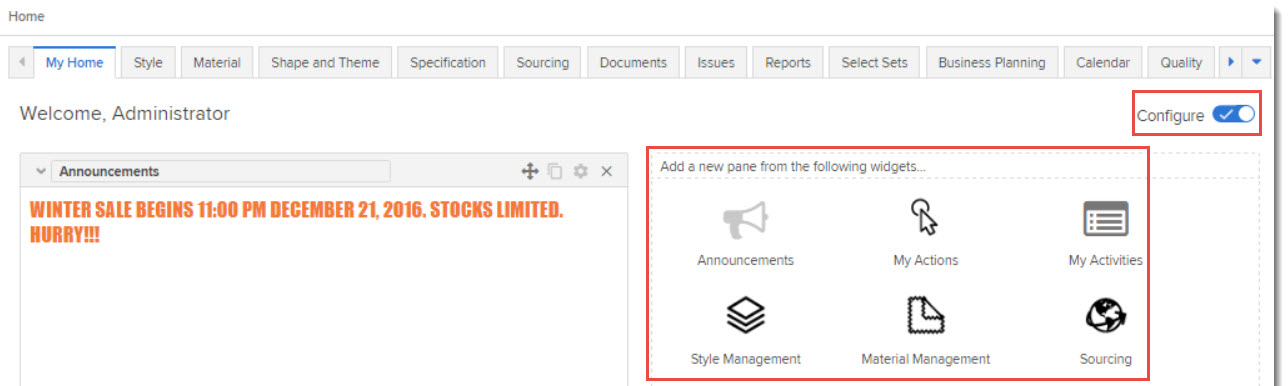
Click on the Configure option to turn it on.
From the Add a new pane from the following widgets... section, click on a widget pane to be included in the Dashboard.
The Style Management Widget provides the following options for a widget pane:
Issues
Orders
Styles
Samples
Supplier Quotes
Supplier Requests
The Material Management Widget provides the following options for a widget pane:
Orders
Materials
Samples
Supplier Quotes
Supplier Requests
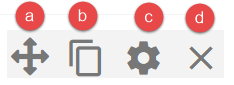
Drag and Drop icon (): To drag and drop a widget pane from one location on the Dashboard to another, click on the drag and drop icon and simultaneously move the pane to the required location on the dashboard.
Copy: Click on this icon to copy an existing widget pane
Custom Views: Click on this icon to customize the view of the table within the widget pane
Remove: Click on this icon to remove the widget pane from the Dashboard. NOTE: Once a widget pane is removed from the Dashboard, it is available in the Add new pane section for users to add it to the Dashboard if required.
Click on the Configure icon.
Click on the Name field of the required widget pane. Edit the details as required.
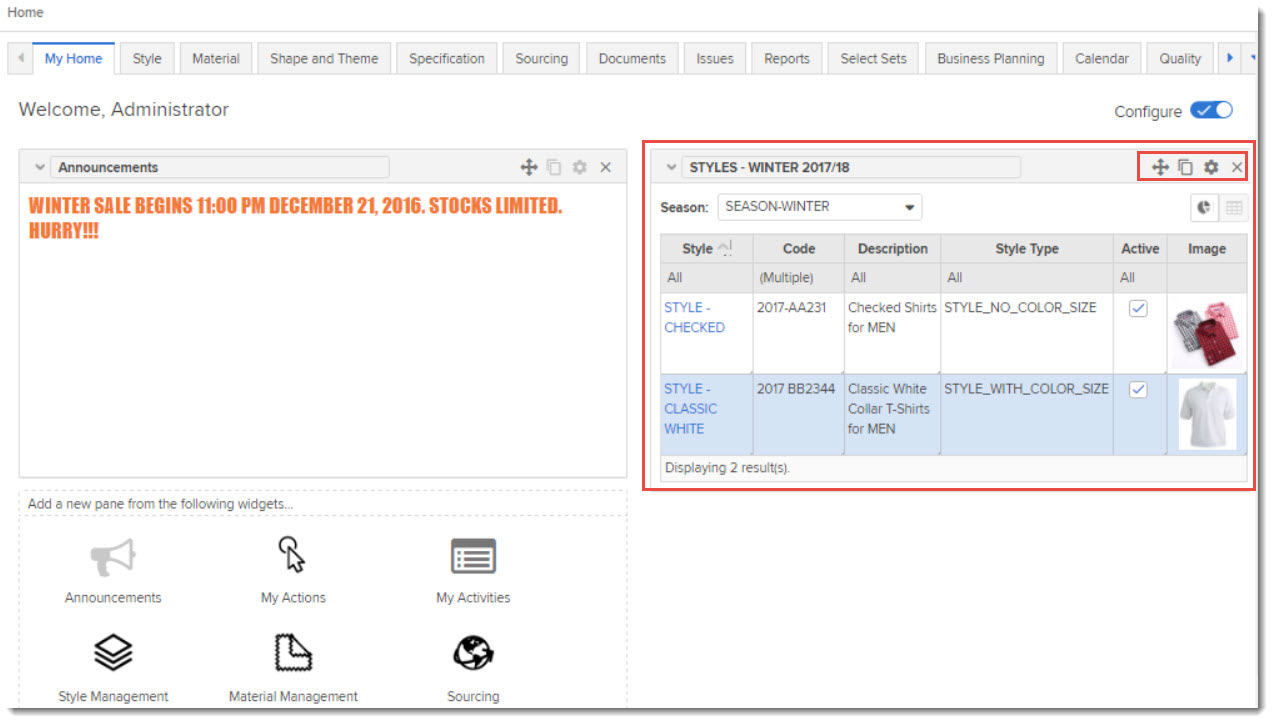
EXAMPLE: Add a Styles widget pane from the Style Management widget.
Click on the Configure option to turn it on.
From the Add a new pane from the following widgets... section, click on the Style Management widget.
In the Add a new pane dialog box, enter details as follows:
From the Choose a Widget drop-down menu select, "Styles"
From the In Season drop-down menu, select "SEASON - WINTER"
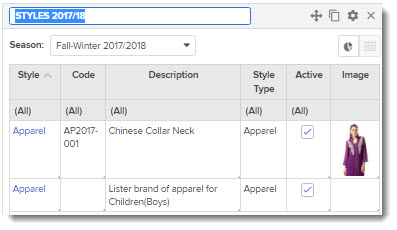
In the Pane Name, enter "STYLES 2017/18"
To save the details of the new widget pane, click on the Save button.
The widget pane is now displayed in the Dashboard.
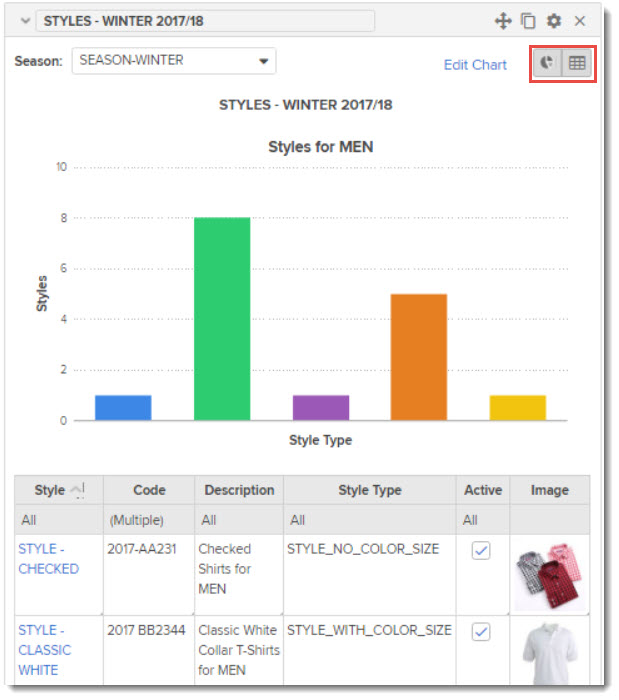
To add a chart to the Styles Widget pane, click on the Chart icon in the table toolbar.
Enter details in the Chart dialog box and click on Save. The chart will not be displayed in the Widget pane as follows.
NOTE: You can toggle between display of Chart and / or Table using the Chart / Table icons.